
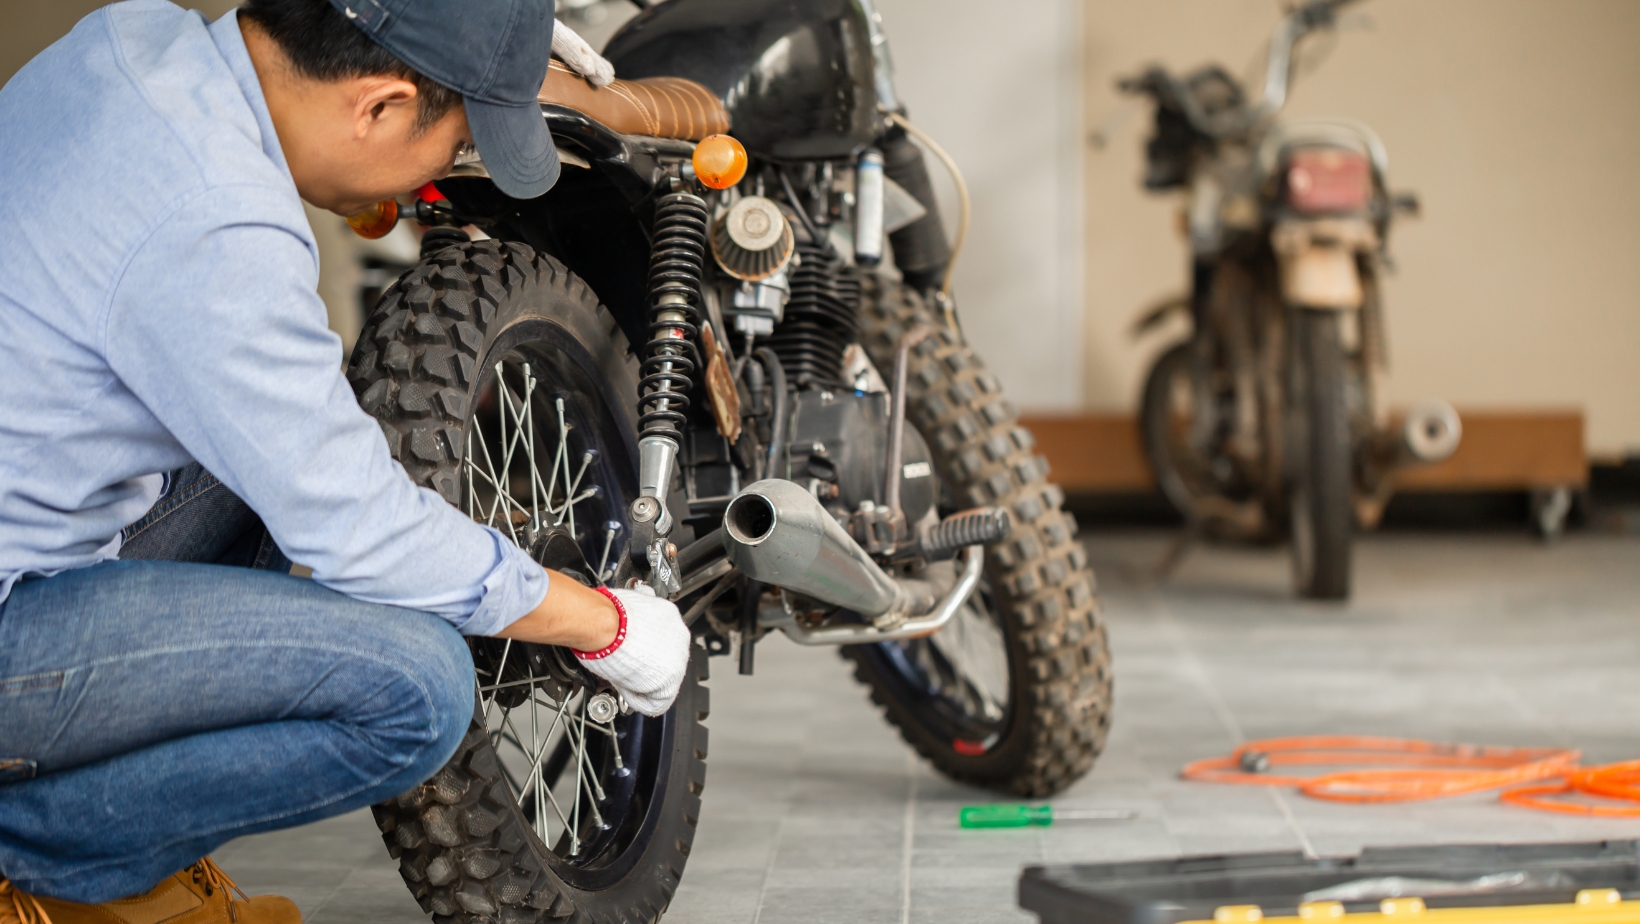
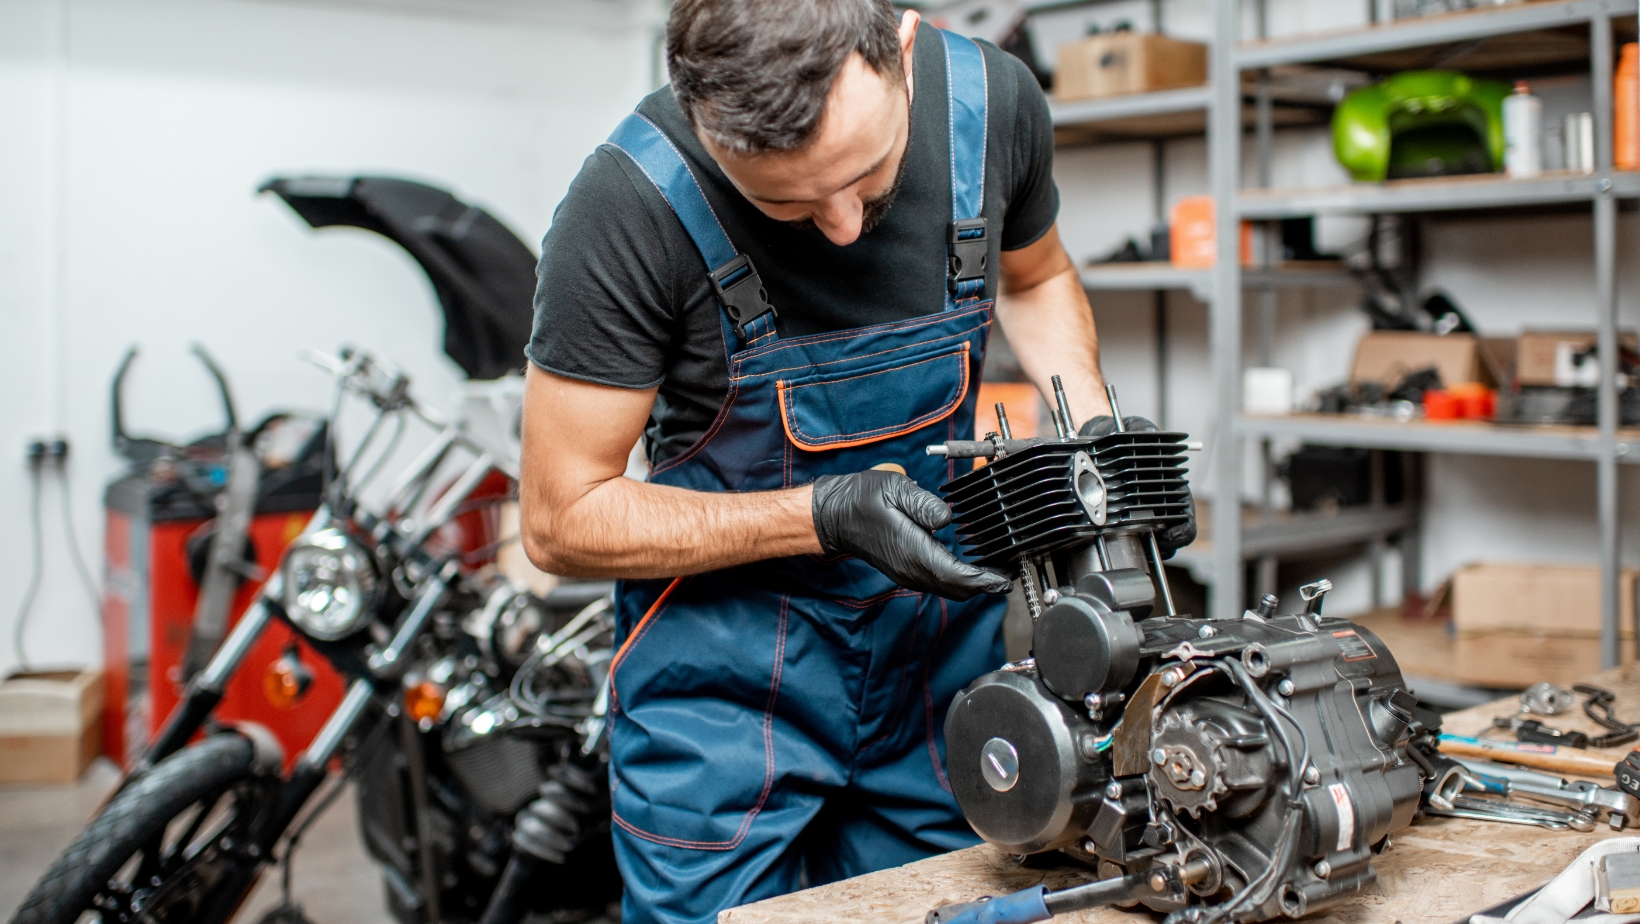
 When maintaining or repairing a motorcycle engine, one of the essential tasks involves dealing with the valve springs. These components play a crucial role in controlling the opening and closing of the intake and exhaust valves. Over time, the valve springs in your motorcycle engine can wear out, causing issues like reduced engine performance or misfires. To properly inspect or replace these parts, you’ll need the right tools, and a motorcycle valve spring compressor is one of the most critical instruments in your toolkit.
A valve spring compressor for motorcycles allows you to safely compress the valve springs, making it possible to remove the valves for inspection, cleaning, or replacement. If you’re unfamiliar with this tool, don’t worry. This guide will walk you through everything you need to know to use it properly and ensure your motorcycle’s engine is running smoothly.
What is a Motorcycle Valve Spring Compressor?
A motorcycle valve spring compressor is a specialized tool designed to compress the valve spring in a motorcycle engine. The tool helps to remove the valve spring retainer, which holds the valve spring in place. Once the spring is compressed, the valve can be removed for inspection or replacement. The compressor is a must-have for any serious motorcycle mechanic or enthusiast who plans to work on engine internals.
This tool works by applying controlled force to the valve spring, reducing its pressure and allowing the mechanic to access the valves without damaging surrounding components. It’s commonly used when rebuilding or tuning motorcycle engines, making it an indispensable tool for anyone performing detailed engine work.
Why Do You Need a Valve Spring Compressor for Your Motorcycle?
Over time, motorcycle valve springs experience wear and tear due to the constant opening and closing of the engine’s intake and exhaust valves. A worn valve spring can cause a decrease in engine performance, as the valves may not open and close correctly. In some cases, the valve springs may become weakened, which can lead to valve float, causing severe engine damage.
If you’re replacing or upgrading your valve spring motorcycle components, using a valve spring compressor ensures that you can safely and effectively remove and install the springs without causing damage to the delicate internal parts of the engine.
What to Know Before Using a Valve Spring Compressor
Before you start using a motorcycle valve spring compressor, there are a few things to keep in mind:
- Choose the Right Tool: Make sure the valve spring compressor you’re using is suitable for your motorcycle. There are several types, such as manual and hydraulic versions, each designed for different kinds of motorcycles and engine configurations.
- Wear Safety Gear: Always wear safety glasses and gloves when working with engine components, especially when dealing with high-pressure parts like valve springs.
- Work in a Clean Environment: Dust and debris can damage delicate engine parts. Make sure to work in a clean, organized environment to avoid contaminating any engine components.
- Know the Valve Spring Types: Different motorcycles use different types of valve springs. Make sure you are familiar with the specific type of valve spring in your engine, as different springs may require slightly different procedures when being compressed.
Step-by-Step Guide: How to Use a Motorcycle Valve Spring Compressor
Follow these detailed steps to properly use a motorcycle valve spring compressor and ensure you handle the valve springs safely:
1. Preparation
Before you start using your valve spring compressor for motorcycles, ensure that you have all the necessary tools and the engine is properly prepared. You will need:
- A motorcycle valve spring compressor tool
- A socket set
- A ratchet wrench
- Valve spring retainers
- Clean cloth or rag
- Safety glasses and gloves
Once you have all your tools ready, follow these steps:
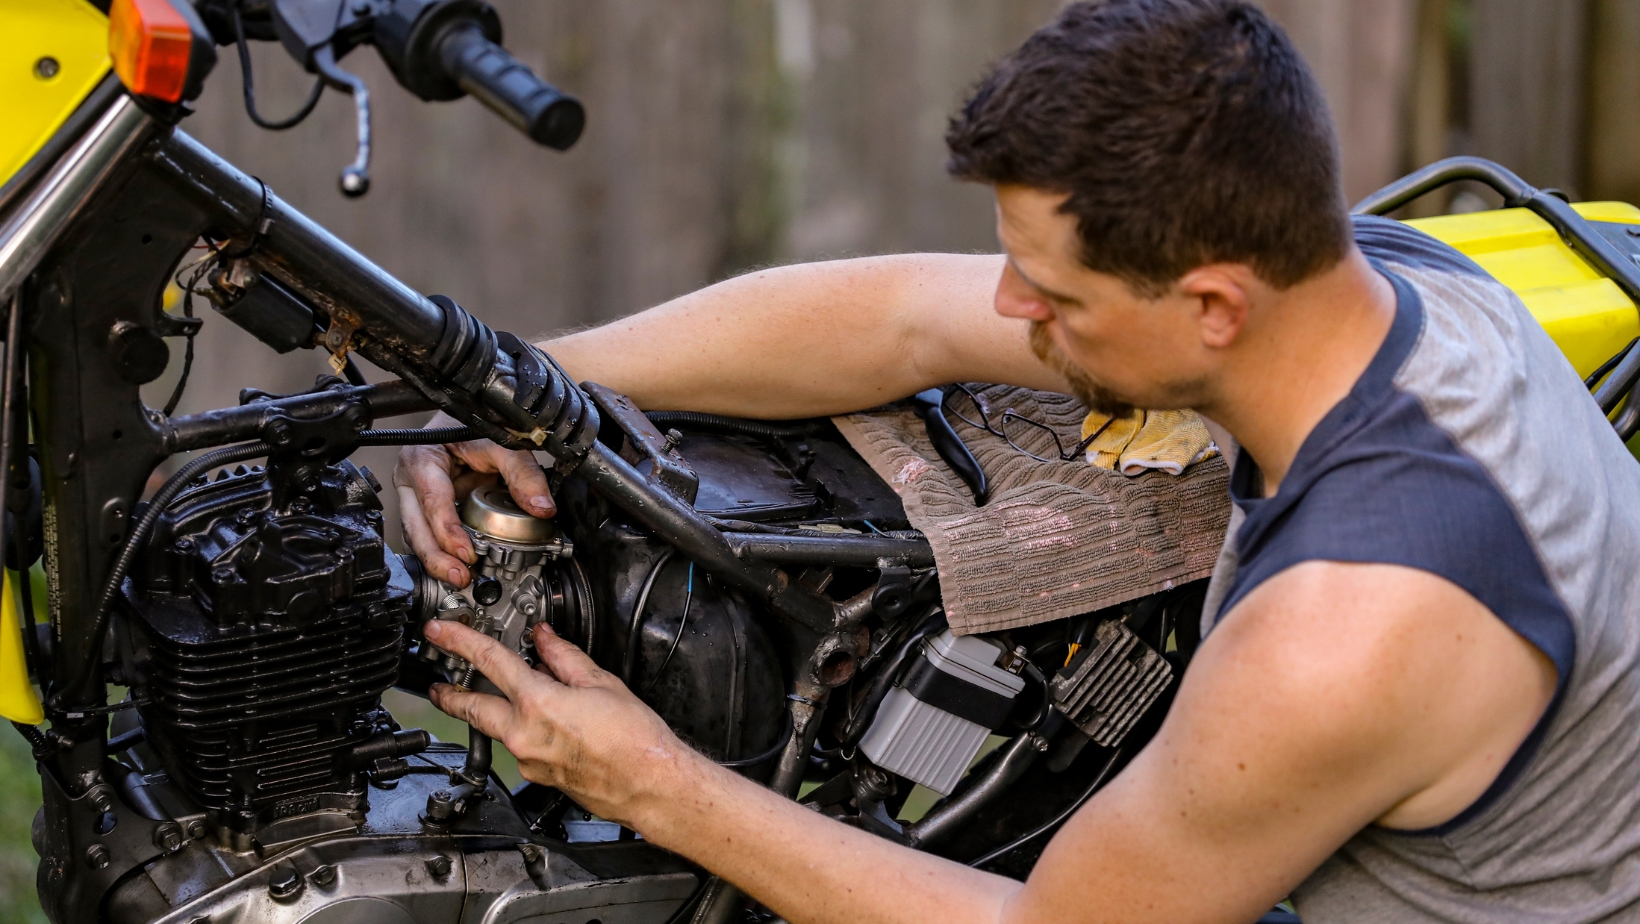
2. Remove the Cylinder Head
The first step in accessing the valve springs is to remove the cylinder head from the engine. Start by:
- Disconnect the battery and drain any fuel to prevent accidental ignition.
- Loosening the bolts that hold the cylinder head in place, starting from the outer bolts and working in a crisscross pattern.
- Carefully lifting the cylinder head from the engine block. You may need to tap the head gently with a rubber mallet to loosen it.
Be sure to keep track of the bolts and gaskets, as these will need to be reinstalled later.
3. Locate the Valve Springs
Once the cylinder head is removed, locate the motorcycle valve springs. They are usually situated beneath the valve retainers, which secure them in place. You’ll also notice the valve guides and keepers around the valves.
Take note of the configuration of the springs and keepers, as you will need to reinstall them in the same order once you are done.
4. Position the Valve Spring Compressor
Now it’s time to use your valve spring compressor motorcycle tool. To do so:
- Position the valve spring compressor over the valve spring, ensuring that it’s aligned correctly with the spring and valve retainer.
- Make sure that the compressor is placed securely, with the jaws of the tool gripping the valve spring retainer. This will allow you to apply even pressure when compressing the spring.
5. Compress the Valve Spring
Next, the motorcycle valve spring compressor is used to compress the valve spring. Depending on the type of tool you’re using:
- If using a manual valve spring compressor, slowly tighten the tool’s screw to apply pressure. Ensure that the pressure is applied evenly to avoid damaging the spring or valve.
- If using a hydraulic valve spring compressor, gently pump the handle to apply force, ensuring the spring is compressed evenly.
Key Tips:
- Apply gradual pressure, checking regularly to make sure the spring is compressing evenly.
- Never force the tool or compress the spring too quickly, as this can lead to damage.
6. Remove the Valve Spring Retainer
Once the spring is sufficiently compressed, the valve spring retainer will become loose. Use a flathead screwdriver or pliers to carefully remove the retainer.
Be sure to handle it gently, as the retainers are often made of delicate materials.
7. Remove the Valve Springs
With the valve spring retainer removed, you can now release the pressure on the valve spring. Gently remove the spring, taking care not to let it spring out unexpectedly.
If you’re replacing the springs, inspect the old ones to check for signs of wear. Look for cracks, discoloration, or unusual wear patterns. If the springs appear damaged, replace them with new ones that are designed for your motorcycle model.
8. Inspect the Valves
Now that the valve springs are removed, it’s a good time to inspect the valves and valve guides. Look for any signs of wear or damage, such as carbon buildup, scoring, or broken valve seals. If necessary, you can clean the valves or replace them altogether.
9. Reassemble the Engine
After completing any necessary repairs or replacements, it’s time to reassemble the engine. To do so:
- Place the new or cleaned valve springs into position on the cylinder head.
- Use the motorcycle valve spring compressor to compress the springs again.
- Reinstall the valve spring retainers and secure them with the keepers.
- Slowly release the pressure from the valve spring compressor, ensuring the spring is held securely in place.
- Reinstall the cylinder head onto the engine, tightening the bolts in a crisscross pattern to ensure even pressure.
10. Test the Engine
Once everything is reassembled, perform a test to ensure the engine is functioning correctly. Start the motorcycle and listen for any unusual noises. If the engine runs smoothly and there are no signs of valve-related issues, you’ve successfully replaced or maintained the valve springs.
Final Thoughts
Using a motorcycle valve spring compressor is an essential skill for anyone performing engine maintenance or repairs. By following these simple steps, you can safely remove and replace your motorcycle’s valve springs without causing damage to the engine. Always take the necessary precautions and ensure that you use the right tools for the job. With a little practice, you’ll be able to maintain and upgrade your motorcycle’s engine, helping you enjoy improved performance and reliability.