
 You are starting a building project, whether it is a commercial building, an addition to your home, or a new foundation. As you plan out the details, you realize that understanding truss and frame installation is essential for ensuring the structural integrity and stability of your project.
Truss & Frame serve as the backbone of many buildings, providing support for roofs, floors, and walls. Putting up trusses and frames is easy if you follow the steps in this article.
-
Pre-Installation Preparation
To make sure the process goes smoothly and safely, the area must be prepared before the trusses and frames are put in. First, look over the building plans and mark the spots where the trusses will go. The tools, equipment, and materials you need should be easy to get to. Get rid of any trash, obstacles, or dangers in the work area that could get in the way of the installation.
Additionally, verify that the foundation or supporting structure is properly constructed and level to provide a stable base for the trusses. Proper pre-installation preparation helps streamline the installation process and minimizes the risk of accidents or errors.
-
Setting Up Work Area
Setting up the work area is like laying the foundation for a successful installation. Begin by assembling scaffolding or ladders to access the truss installation site safely. Position the scaffolding or ladders securely on level ground and ensure they are stable and properly secured.
Next, lay out the trusses and frames in the designated installation area, arranging them in the correct order according to the building plans. Provide adequate space around the truss installation site for maneuvering and lifting equipment.
Additionally, ensure that all necessary safety equipment, such as harnesses, helmets, and gloves, is readily available and worn by installation personnel. A well-organized and equipped work area facilitates a smooth and efficient installation process while ensuring the safety of everyone involved.
-
Installing Trusses
Begin by lifting the trusses into position using cranes or lifting equipment, taking care to align them correctly with the designated locations marked on the building plans. Secure the trusses to the supporting structure using nails, screws, or bolts, ensuring they are properly anchored and aligned.
Also, install temporary bracing or supports as needed to stabilize the trusses during the installation process. Work methodically from one end of the building to the other, ensuring each truss is securely installed before moving on to the next.
Finally, verify that all trusses are correctly aligned and spaced according to the building plans before proceeding with the next phase of construction. Proper installation of trusses forms the backbone of the building’s structural integrity, ensuring a sturdy and reliable framework for the rest of the construction process.
-
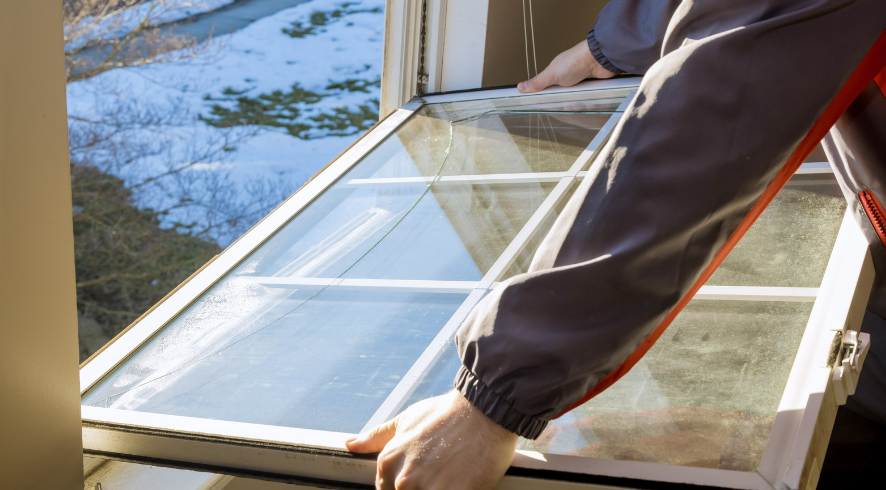
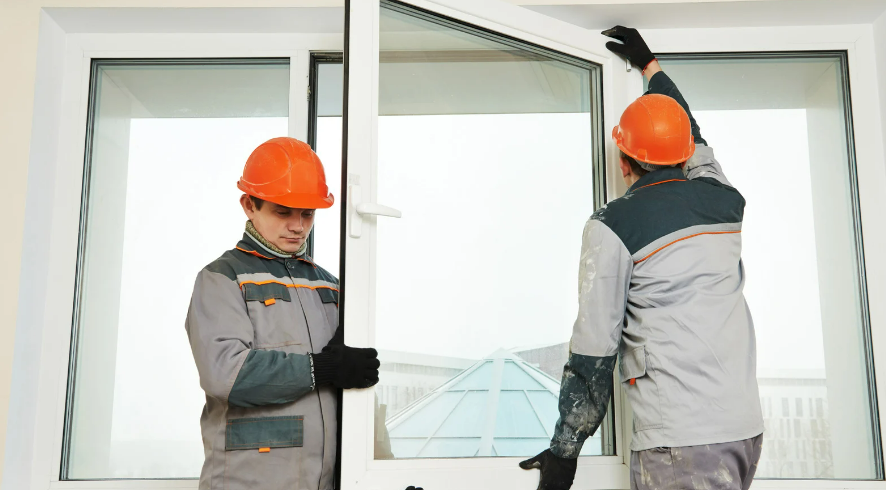
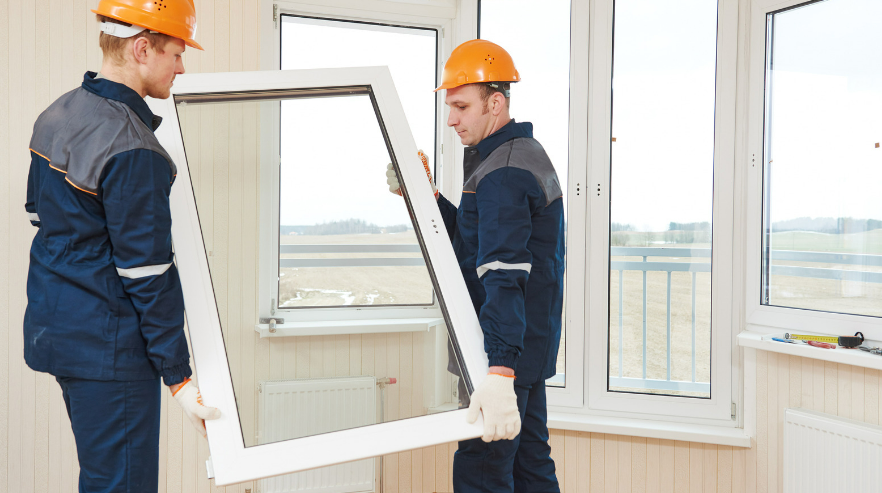
Framing Installation
Framing installation is like putting together a giant puzzle—it’s about assembling the pieces that form the structure of a building. That said, start by positioning the frames and trusses according to the building plans, ensuring they align correctly with the designated locations. Secure the frames in place using nails, screws, or bolts, making sure they are level and plumb.
Also, install additional framing components, such as headers, beams, and joists, to reinforce the structure and support floors, walls, and ceilings. Work systematically from one section of the building to the next, ensuring each frame is securely installed before proceeding to the next step.
-
Securing Connections and Bracing
Once the frames and trusses are installed, secure all connections and joints using appropriate fasteners and hardware. This includes nails, screws, bolts, metal plates, and brackets designed to strengthen and reinforce the structural components.
In addition, install temporary bracing or supports as needed to stabilize the frames and trusses during the construction process, preventing them from shifting or collapsing. Properly securing connections and bracing ensures the structural integrity of the building and minimizes the risk of accidents or structural failures.
-
Inspecting and Adjusting
After the frames and trusses are installed and secured, carefully inspect the entire structure for any signs of misalignment, damage, or defects. Check for proper alignment, spacing, and levelness of the frames and trusses, making adjustments to ensure they meet the building plans and specifications.
Also, address any issues or concerns promptly to prevent problems during the later stages of construction. A thorough inspection and adjustment process helps ensure the structural integrity and quality of the building.
-
Finalizing Installation
Once all frames, trusses, connections, and bracing are installed and inspected, finalize the installation by double-checking everything to ensure it meets building codes and standards. Remove any temporary supports or bracing that were used during construction.
If needed, clean up the work area and prepare it for the next stage of construction, whether it’s installing roofing, siding, or interior finishes. A well-executed finalization process sets the stage for a successful continuation of the construction project.
-
Safety Considerations
Throughout the truss and frame installation process, prioritize safety by providing appropriate personal protective equipment (PPE), such as helmets, gloves, and safety harnesses, for all workers. Use proper lifting techniques and equipment, such as cranes or hoists, to handle heavy materials and components safely.
Also, follow all safety protocols and guidelines outlined by regulatory authorities and industry standards to minimize the risk of injuries or accidents on the job site. Remember, safety should always be the top priority during construction activities.
-
Maintenance and Care
After the trusses and frames are installed, regularly inspect the structure for signs of wear, damage, or deterioration. Repair any damaged or compromised components promptly to prevent further issues.
Keep the structure clean and free of debris to prevent buildup that could lead to corrosion or decay. Consider applying protective coatings or treatments to wood components to enhance their durability and resistance to moisture and pests.
Regular maintenance and care help extend the lifespan of the structure and ensure its continued performance and safety over time.
Practice Installing Truss and Frame Now
Remember, proper installation not only ensures safety but also contributes to the overall quality and durability of the structure. So, roll up your sleeves, gather your tools, and embark on the journey of honing your truss and frame installation skills today!