
Pleasing product photos play a pivotal role in your business’s success. In ‘Product Image Perfection: Tips & Techniques’, you’ll learn how to take terrific snaps that’ll charm your customers.
We’ll introduce you to the basics of product photography, the importance of light, how to choose the right background, and the art of composition.
You’ll get the hang of camera settings for perfect shots and post-production editing essentials. We’ll also show you how to use image SEO to boost your visibility, and how to overcome common photography challenges.
So, get ready to master the art of product imaging and watch your business bloom.
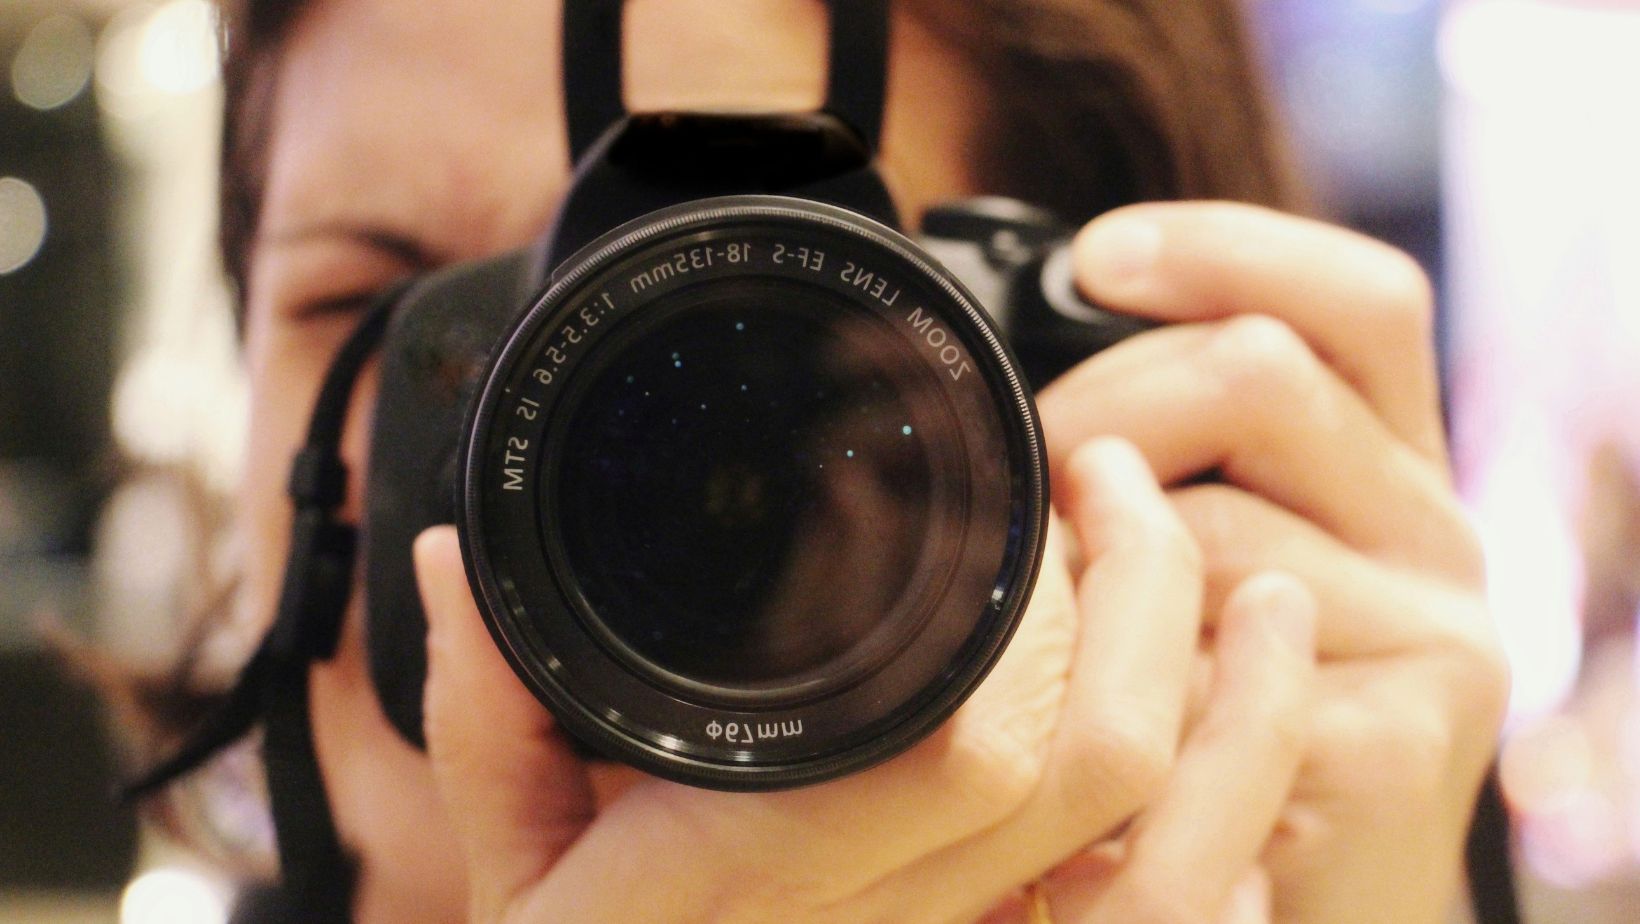
Understanding Product Photography Basics
In the realm of e-commerce, you’ve got to grasp the essentials of Shapes Defined product photography to truly make your items shine. Now, you’re likely wondering, ‘What does that entail?’ Well, let’s dive in.
Firstly, you’ve got to consider lighting. Natural light works best for most products, creating soft shadows and accurate colors. However, if you’re shooting shiny or reflective objects, artificial light allows you to control reflections and avoid glare.
Next, you can’t ignore the importance of the backdrop. A neutral background ensures your product stands out, while a staged setting can help tell a story. You’ve got to decide what suits your brand best.
Then, there’s the matter of angles and perspective. You’ve got to show your product from multiple viewpoints, giving your customers a thorough understanding of what they’re buying.
Lastly, don’t underestimate the power of post-production. Even the best shots can be improved with a little editing. Whether it’s cropping, adjusting brightness, or fine-tuning colors, you’ve got the tools to perfect your images.
Importance of Light in Product Imaging
Now, let’s delve into the crucial role of light in product imaging, a key aspect that can make or break your product’s visual appeal. The right lighting can turn your product from an ordinary item into a must-have. There’s no overstating its significance, so let’s shed some light on why it’s so vital.
- Dimensionality: Proper lighting gives your product a three-dimensional feel. It creates shadows and highlights that define your product’s shape and depth. Without proper lighting, your product can appear flat and uninteresting.
- Texture: Light allows you to reveal your product’s texture. It magnifies the product’s details, making the audience almost feel the material. It’s the magic that makes leather look luxurious and cotton appear cozy.
- Color Accuracy: Light affects how colors are perceived. The right lighting can bring out the true colors of your product, ensuring that what the customers see is what they’ll get.
- Mood and Atmosphere: Light sets the tone for your product images. It can create a mood, evoke emotions, and tell a story. A vibrant light can communicate energy, while a soft light might suggest comfort.
Choosing The Right Background
Just as crucial as lighting is to your product images, selecting the ideal background can drastically enhance your product’s appeal and overall presentation. It’s not just about picking a random color or pattern; it’s about understanding the context, the product, and your target audience.
Consider what your product is. If it’s a piece of jewelry, you might want a velvet black or deep blue background to make the jewels pop. If you’re photographing food, a rustic wooden table or a clean white surface might be more appropriate.
Think also about contrast. You don’t want your product to blend into the background, you want it to stand out. So if your product is dark, choose a light background. If it’s light, go for a dark background.
Don’t forget texture and patterns. They can add depth and interest to the image, but be careful not to let them overpower the product. Keep it simple and let the product be the star.
Equally important is to remember that the background you choose should reflect your brand’s image and resonate with your target audience.
Having chosen the perfect background, let’s now delve into proper product positioning techniques.
Proper Product Positioning Techniques
Once you’ve selected the perfect background, it’s time to focus on how you’re positioning your product. This isn’t just a case of plonking it down and snapping away. No, product positioning is an art. It’s about capturing a narrative, a lifestyle, a solution. It’s about the ‘why’, not just the ‘what’.
Here’s a 4-step guide:
- Angles matter: Don’t just shoot straight on. Experiment with different angles to add depth and drama. From above, from the side, close-up, or wide-angle – each offers a unique perspective.
- Emphasize features: Highlight the product’s key features. If it’s a watch, show off the dial detail. Selling a bag? Showcase the stitching.
- Use props: Props can add context and tell a story. They should complement, not overshadow your product. Choose props that align with your brand’s persona.
- Play with lighting: Lighting can dramatically alter the mood of your image. Soft, diffused light can bring out textures, while harsher light can create striking contrasts.
Mastering The Art of Composition
While you’ve honed your skills in product positioning, mastering the art of composition is your next crucial step to creating perfect product images. The composition plays a pivotal role in how your product is perceived. It’s not just about placing the product correctly, it’s about creating a visually engaging image that tells a story.
Start by understanding the rule of thirds. Imagine your frame divided into nine equal parts by two equally spaced horizontal and vertical lines. Your goal is to position the product along these lines or at their intersections. This creates more tension, energy and interest than just centering the product.
Next, consider the background. It shouldn’t distract from the product, but rather enhance it. Use a simple, single-colored background to make your product stand out.
Don’t forget about the balance. You can create a symmetrical composition for a sense of harmony, or go for an asymmetrical one to evoke more dynamic feelings.
Lastly, experiment with different angles and perspectives. Sometimes, a unique angle can make your product image stand out.
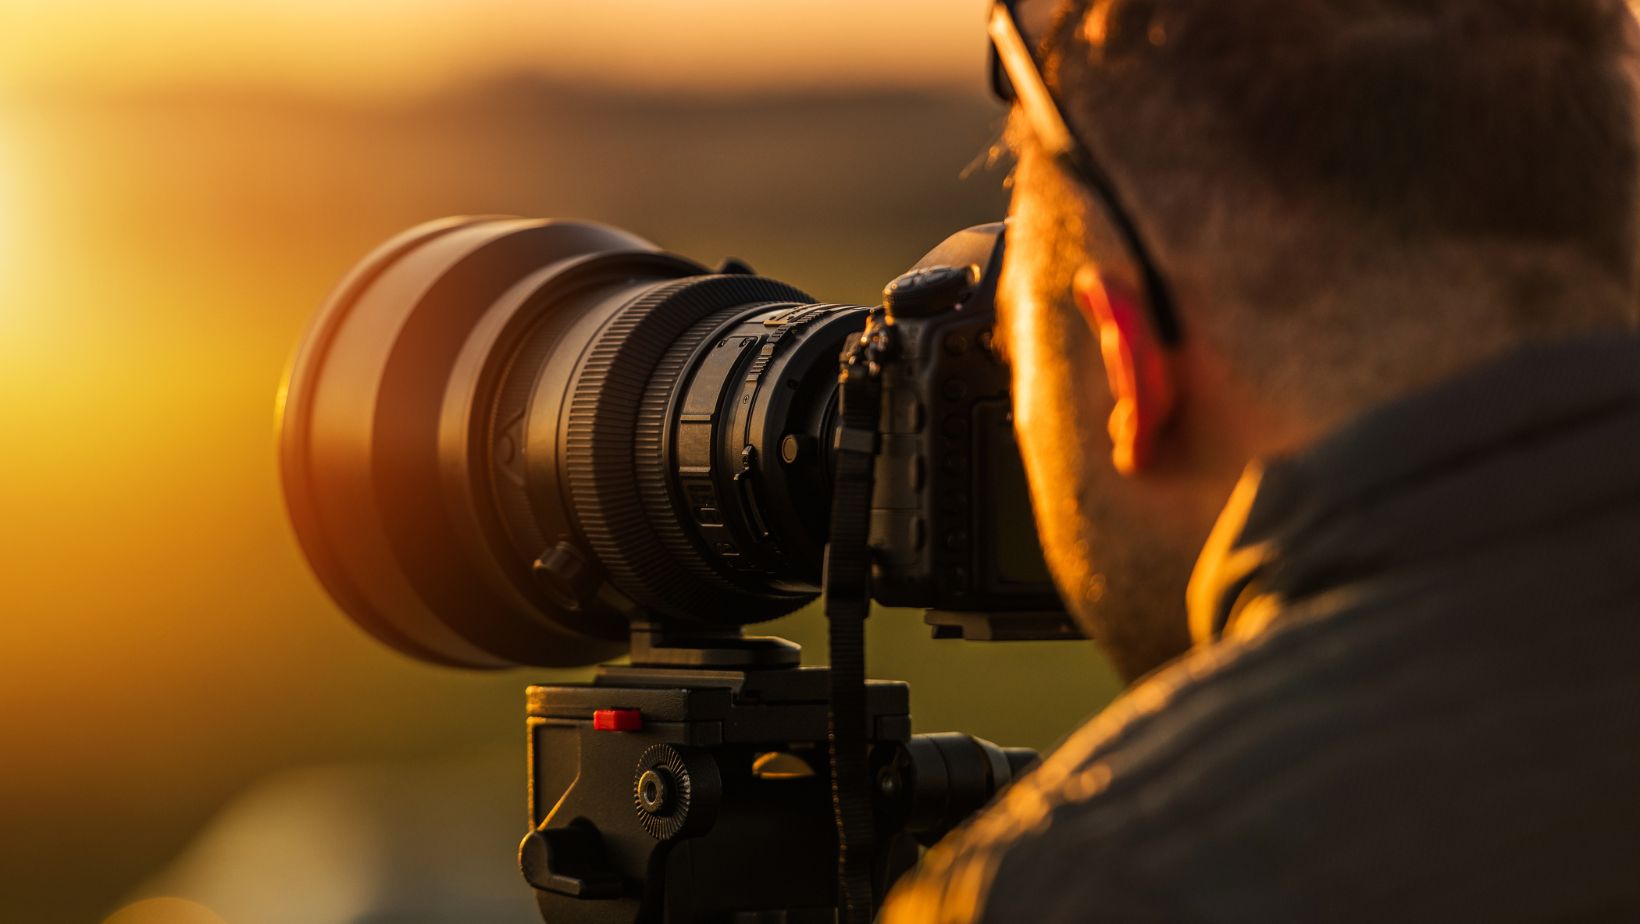
Camera Settings For Perfect Product Shots
Now that you’ve got a grip on composition techniques, it’s time to dive into the nitty-gritty of camera settings for perfect product shots. You’ll need to adjust your camera’s aperture, shutter speed, ISO, and white balance. Here’s how:
- Aperture: This controls the amount of light entering the camera. A lower f-number means a larger aperture, allowing more light in. This creates a shallow depth of field, making your product stand out against a blurry background.
- Shutter Speed: This is the time your camera’s shutter stays open. A fast shutter speed freezes action, while a slow one creates motion blur. For stationary products, a slower speed works well.
- ISO: This controls your camera’s sensitivity to light. A higher ISO captures more light, but also more noise. To keep your product shots crisp, stick with a low ISO.
- White Balance: This affects the color temperature of your photos. Adjust it to match your lighting conditions, ensuring your product’s colors are accurate.
Experiment with these settings, balancing them to create sharp, well-lit product shots. With the technical aspects under control, you’re ready to move onto the next step: post-production editing essentials.
Post-Production Editing Essentials
After you’ve nailed down your camera settings, a good chunk of your product photography success hinges on mastering post-production editing essentials. This is where you refine and perfect your images, highlighting the best features of your product, and ensuring they look professional and appealing.
Start by cropping and straightening your images. It’s important you’re not chopping off any important parts of your product or leaving anything distracting in the frame. Keep it simple and focused.
Then, adjust the exposure and contrast. You want your product to pop and catch the viewer’s eye, without losing detail in the shadows or highlights.
Next, work on the color balance. Products need to be represented accurately, so make sure the colors in your images are true to life. If they’re not, adjust the hue and saturation until they are.
Lastly, don’t forget to sharpen your images. This adds clarity and can really make your product stand out. But be careful not to overdo it – too much sharpening can make an image look unnatural.
Remember, post-production editing isn’t about altering your product beyond recognition. It’s about enhancing what’s already there and making it shine.
Practice makes perfect, so get editing and watch your product images improve.

Utilizing Image SEO For Visibility
In your journey to perfect product images, understanding and utilizing Image SEO is crucial for enhancing visibility and attracting potential customers. The online marketplace is a bustling, crowded space. With Image SEO, you’ll help your product images stand out, capturing the attention of your target audience amidst the noise.
Here are four key techniques to leverage Image SEO effectively:
- Alt Text: Always add alternative text to your images. This text describes the image to search engines and aids in determining its relevance to a search query. Make it detailed, relevant and don’t forget to include your keywords!
- File Name: Just like alt text, search engines also consider the file name. Use clear, descriptive file names that include your targeted keywords.
- Image Size: Large file sizes slow down site loading times. A slower site can negatively impact your SEO ranking. Compress your images to keep your site speedy and user-friendly.
- Image Sitemap: Submit an image sitemap to Google. This helps search engines discover your images, potentially boosting your visibility.
Master these Image SEO techniques and you’ll be well on your way to optimizing your product images, ensuring they’re seen by the right people at the right time.
Overcoming Common Product Photography Challenges
As you delve deeper into product photography, you’ll likely encounter a few common challenges that can hinder the quality of your images. Inadequate lighting, unflattering reflections, and bland background settings are just a few obstacles that you may face.
But don’t despair, there are creative solutions at your disposal. Struggling with poor lighting? Consider investing in a lightbox or softbox. They’re designed to evenly distribute light, eliminating harsh shadows and creating a clean, well-lit space for your product.
Reflections giving you a headache? Try using a polarizing filter on your camera. It’ll help to reduce and control unwanted shiny spots on your product.
Bored with bland backgrounds? Spice things up with colorful backdrops or interesting textures. But remember, the aim is to enhance your product, not distract from it.
Lastly, always test different settings on your camera. Experiment with aperture, ISO, and shutter speed. Each plays a crucial role in how your final image turns out.
In overcoming these common challenges, you’ll soon see that product photography is a fine blend of technical knowledge, creativity, and problem-solving. And with practice, you’ll perfect your product imagery in no time.
Conclusion
To wrap things up, mastering product photography isn’t a walk in the park. It’s a delicate dance between light, background, product positioning, and composition.
Tweak camera settings with precision and polish your shots in post-production.
Don’t forget the power of image SEO to boost your visibility.
With patience and practice, you’ll soon overcome the initial hurdles and your product images will start to sparkle with professional brilliance.
Here’s to your journey towards product image perfection.