Table of Contents
Toggle
Have you ever heard the phrase, “What’s your IP address?” and thought, Why would I ever need to know that? Well, your IP address is more important than you might realize. It’s like your device’s digital address, allowing the internet to know where to send information—kind of like how the postal service needs your home address to deliver a package.
Whether you’re troubleshooting a network issue, setting up a VPN, or just feeling curious, learning how to check your IP address is a handy skill. Don’t worry—it’s not as complicated as it sounds. In this guide, I’ll walk you through everything you need to know about checking your IP address quickly and easily, no tech wizardry required.
What Is an IP Address?
Think of your IP address as your device’s unique identifier on the internet. It’s what helps the digital world connect to your computer, phone, or other gadgets. There are two types of IP addresses you should know about:
- Public IP Address: This is assigned by your internet service provider (ISP) and is visible on the internet. It’s what websites, apps, and services see when you’re online.
- Private IP Address: This is assigned by your router to devices within your home network. It helps devices talk to each other locally but isn’t visible to the wider internet.

Here’s a quick analogy: If your public IP is your street address, your private IP is like your apartment number—specific to your local setup.
Why Do You Need to Check Your IP Address?
Now that you know what an IP address is, let’s talk about why you’d want to check it:
- Troubleshooting Network Issues: If your internet is acting up, knowing your IP can help you figure out the problem.
- Setting Up a VPN: VPNs need your IP information to connect you securely to the internet.
- Accessing Remote Devices: Want to connect to your work computer from home? You’ll likely need the IP address.
- Enhancing Privacy: Sometimes, knowing your IP address is the first step to hiding it for added security.
How to Check Your IP Address Using Online IP Checker Tools
What Are IP Checkers?
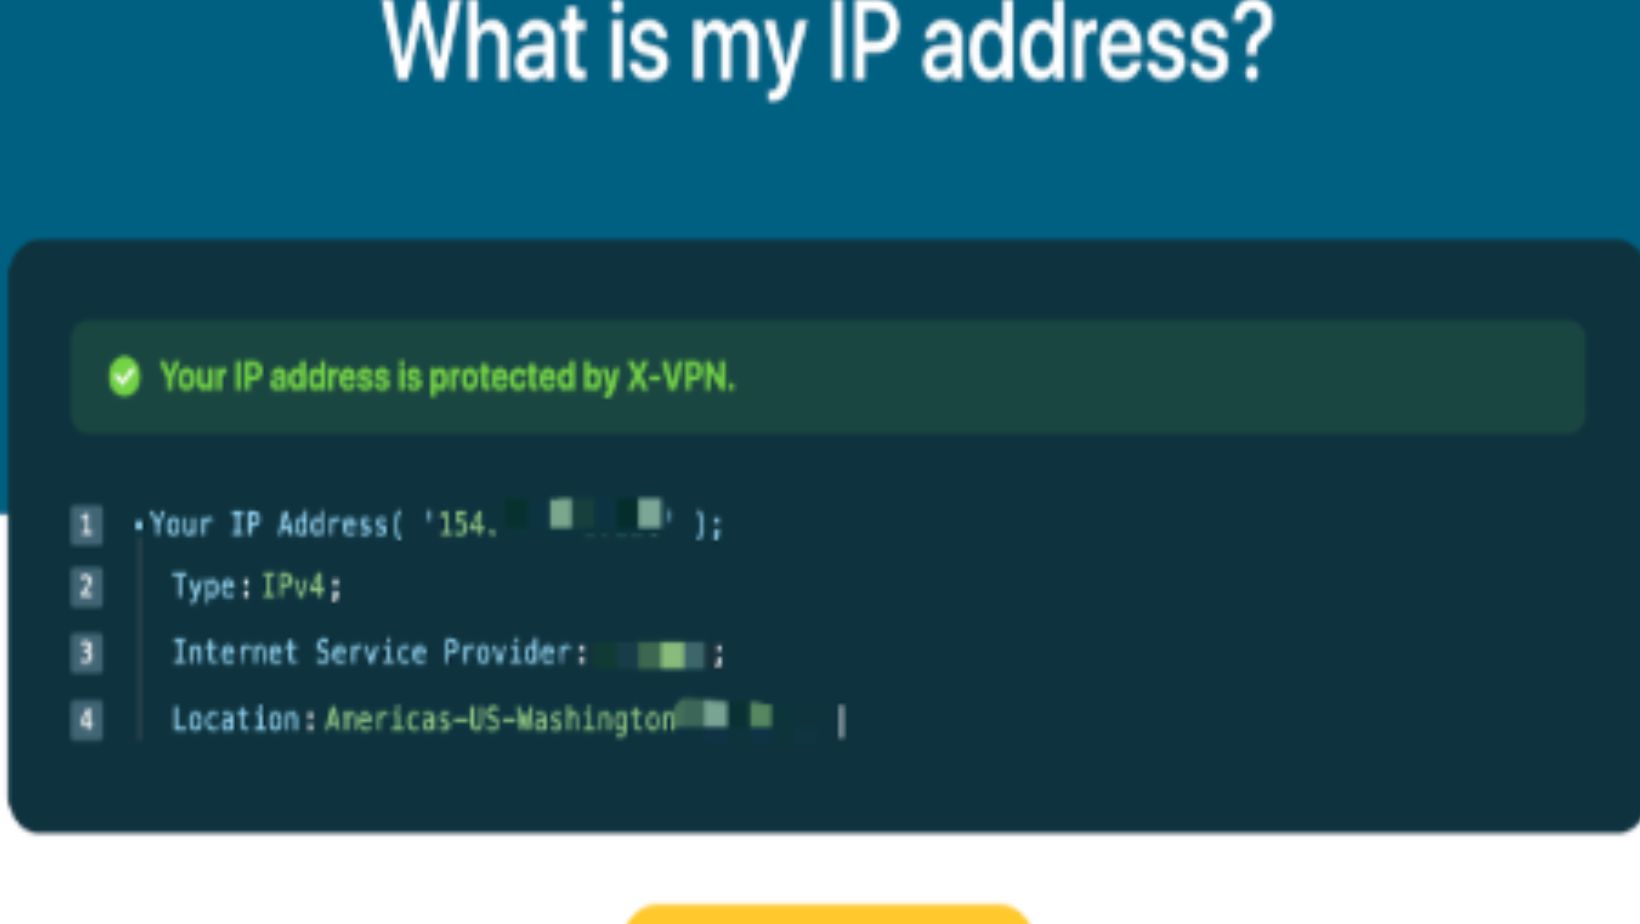
An IP checker is an online tool that instantly shows your public IP address.

These tools are super convenient because they’re fast, free, and require no technical know-how.
Step-by-Step Guide to Using an IP Checker
- Open your web browser.
- Search for “IP checker” or visit a trusted site like WhatIsMyIP, a VPN’s IP Checker Tool, or IP Location.
- Your public IP address will appear right on the screen—no additional steps required!
Tips for Using IP Checkers Safely
- Use reputable IP checker tools to avoid shady sites that might misuse your information.
- Don’t share your IP address publicly, as it can reveal more about your location and network than you might think.
How to Check Your IP Address on Different Devices
If you’d rather not use an online tool, you can check your IP address directly from your device. Here’s how:
On Windows
- Go to Settings > Network & Internet.
- Select Wi-Fi or Ethernet, depending on your connection.
- Click Properties to see your IP address listed under “IPv4 Address.”
Shortcut for the tech-savvy:
- Open the Command Prompt (search for “cmd” in the Start menu).
- Type “ipconfig” and press Enter.
- Your IP address will appear next to “IPv4 Address.”
On macOS
- Open System Preferences and go to Network.
- Select your current network connection (Wi-Fi or Ethernet).
- Your IP address will be displayed in the details section.
On Smartphones
- iOS:
- Go to Settings > Wi-Fi.
- Tap your connected network and find your IP under “IP Address.”
- Android:
- Open Settings > Network & Internet > Wi-Fi.
- Tap your network name and your IP address will be listed under “Advanced Details.”
On Routers
- Open your web browser and type your router’s IP address (e.g., 192.168.1.1) into the address bar.
- Log in using your admin credentials.
- Your public IP address will typically be displayed on the main dashboard or under “Network Settings.”
Public vs. Private IP Addresses: What’s the Difference?
Let’s make it simple:
- Public IP: This is assigned by your ISP and visible to the world.
- Private IP: This is assigned by your router for devices in your local network.
Knowing the difference helps when troubleshooting or setting up remote connections. For instance, if you’re configuring a device within your home, you’ll likely need the private IP. If you’re connecting to the internet or accessing a remote service, you’ll need the public IP.
How to Protect Your IP Address
Now that you’ve found your IP address, it’s time to think about keeping it safe. Your IP can reveal your approximate location and other details, so protecting it is a smart move. Here’s how:
- Use a VPN: A VPN (Virtual Private Network) masks your IP address, replacing it with one from a remote server. This keeps your location private and adds an extra layer of security.
- Avoid Public Wi-Fi Without Protection: Public networks can expose your IP to potential hackers. Always use a VPN when connecting to public Wi-Fi.
- Don’t Share Your IP Address Publicly: Posting your IP address online can make you a target for cyberattacks.
Conclusion
Checking your IP address is simpler than you might think, whether you’re using an online IP checker or diving into your device’s settings. Knowing your IP is useful for troubleshooting, setting up VPNs, or just understanding how your devices connect to the internet.
And remember—while it’s easy to find your IP, keeping it secure is just as important. A VPN can help protect your IP and enhance your online privacy.
So, what’s your next step? Try checking your IP address using one of the methods above. You might be surprised at how easy (and fun!) it is to understand this little piece of your digital identity. If you have any questions or cool IP-related tips, drop them in the comments—I’d love to hear from you!


